In such a connected world, it’s very likely that you come in contact with hundreds, maybe even thousands of these a day. There really is no escaping them. What am I referring to, you ask? Photographs. Those wonderfully beautiful, possibly fake, perfectly executed photographs. We see them plastered on the Internet and on TV screens everywhere, popping up on our smart phones in the form of advertisements and featured on our favorite websites. They are simply, Every. Where. You. Look.
So where do these brilliant photographs come from? They don’t just come out of thin air. They actually take a lot of work and planning. Someone has to create them. Some brilliant mind has to be able to see a vision in their head, sketch it out, concept it and then execute that perfect vision into a tangible photograph – all while hoping the client doesn’t have countless changes *wink wink*. But, I digress. Today, Im going to give you an insiders point of view on exactly what it takes to produce just one of these beautiful photographs you might see on any given day.
Step 1: The Concept
Usually when we do a complicated photo shoot with multiple products and lots of propping, it starts out like this from the client:
This shot features a variety of coordinated service products that may be used throughout the spring season. The small egg-shaped bowl, small scalloped edge bowl, ice cream sundae servers and large serving bowls are semi- translucent and should be highlighted in the image. Use props, including spring-inspired sweet treats, flowers, etc.
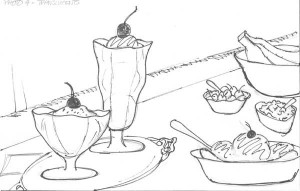
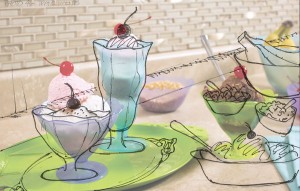
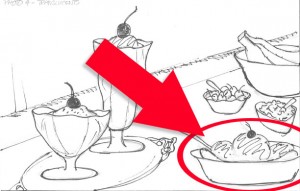
From here, we take what we’ve been given and brainstorm, sketch, re-sketch, and you can probably throw in some more re-sketching until we come up with what we (as an agency) consider a pretty darn good concept, which could end up looking like this:
Step 2: Client Approval
After weve come up with what is a brilliant concept, we shoot our brilliant ideas over to the client to get approval. In an ideal world, every concept we ever send over would be met with overflowing excitement and awe, because they think they are feasting their eyes upon utter genius and cant possibly think of one thing to change.
Unfortunately, that is rarely how it goes. In this case, we were pretty close to a home run though, with only a few changes:
a. The client wanted to add cloth napkins somewhere in the shot and,
b. There was one minor glitch: we wouldn’t have access to product samples of the Sundae Boat Dish.
Bummer. Okay, so we just add in some napkins, come up with a few alternative options for the Sundae Boat Dish and the approval process is done. Whew, that was actually pretty painless!
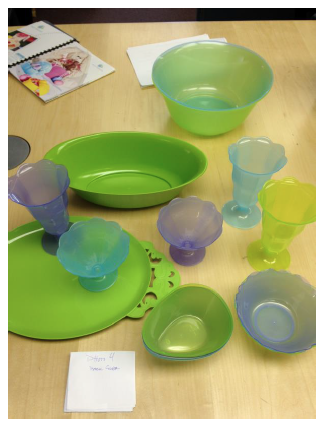
Step 3: Prop Shopping!
Okay, now we get down to business! This is the fun part. We have approval, so now we get to go prop shopping. In this particular case, most of the propping is just going to be groceries and finding some cloth napkins that will work well with the product, while matching our color scheme. We cant choose anything that will compete with the products or pull attention away from the main focus. Easy peasy. However, this isnt always the case. For example, in one of our other shots for a photograph in this same photo shoot, we had to fill Easter baskets and totes with props that would help tell a story. We went through several rounds of sketching and prop ideas for this one.
Step 4: Set Up, Lighting & Photography
Once we have all of our props on location, we get busy actually creating and styling the set for the shoot. This can be a pretty arduous process. We set up the products, do several rounds of test shots, moving and tweaking the lighting so that it best highlights the product, all the while trying to eliminate any unwanted glare or harsh shadows. We do this by moving the lights around and by using reflectors and other tools to get the product to look as perfect as possible. Sometimes, we have to manipulate some things to make them look as perfect as possible. Once we have a test shot that we think will meet approval on the client side, we drop the RAW photograph (without any retouching) into a brochure layout and send it off to the client for approval. In a perfect world, it gets approved. Because its not a perfect world, we usually go through one to two rounds of moving things here and sliding things there, rearranging this product with that product so that in the end, we end up with a photograph that the client loves and our agency can be proud of.
With this particular photo, you may have noticed we have an added obstacle: ice cream. Why an obstacle, you ask? Put simply, it melts. Fun fact: it melts even more quickly under hot studio lighting. So how do we keep it cool, since we have to go through several rounds of re-shooting? The client must be super fast in giving feedback, like, its got to be instantaneous, right? Wrong. In reality, up to a full day can pass between the first shot and the second shot. Usually after we send it off the client, they have to go through several rounds of approvals/comments/feedback on their end of things.
So how DO you do it? Well, we cheat. We don’t use real ice cream. Sometimes we might if the photography calls for super yummy, melty, messy ice cream all over a kids face. But thats not what were dealing with here. We want perfect, fresh-looking scoops of ice cream that can be photographed several times without turning into a puddle. We create fake ice cream using frosting and powdered sugar and voila – perfect ice cream you can scoop and re-scoop until you’ve created the perfect scoop of ice cream!
Step 5: Photoshop Retouching
Okay, so now we have this RAW image thats been approved by our client. Now what? Well, now we re-touch the photograph.
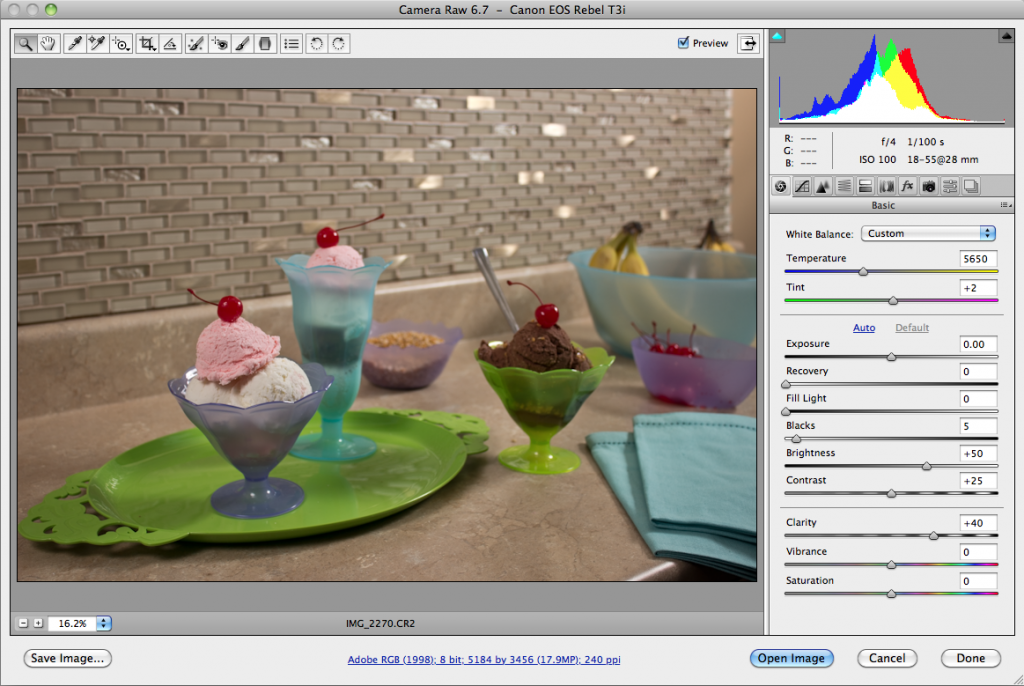
We start out with our RAW file, which looks something like this. Once we get this on image on screen, it appears MUCH darker than when it was viewed on the viewfinder:
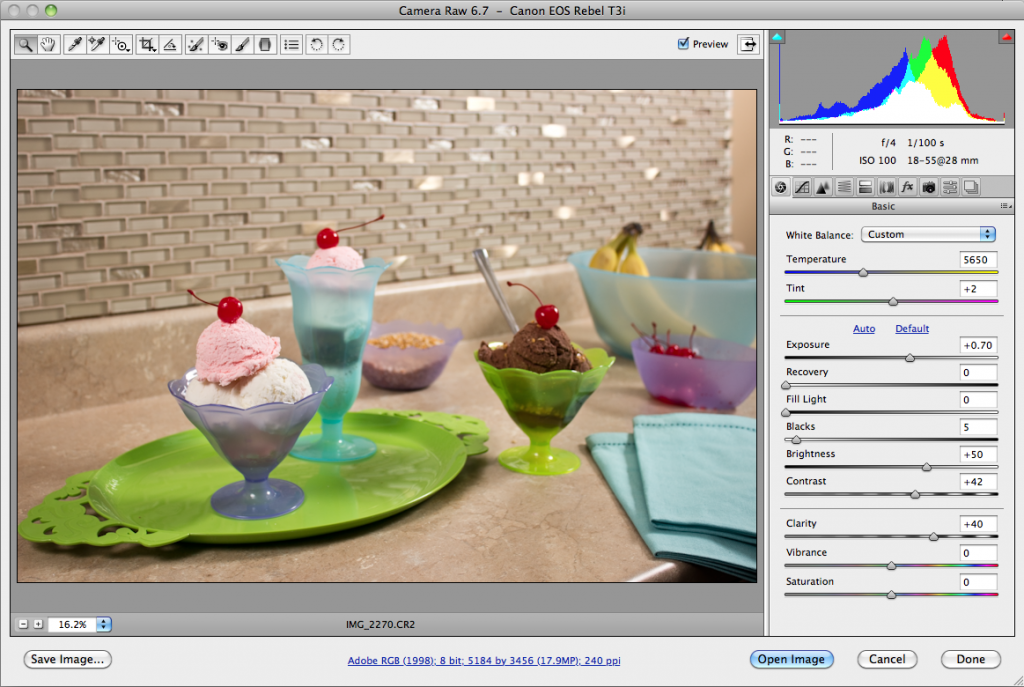
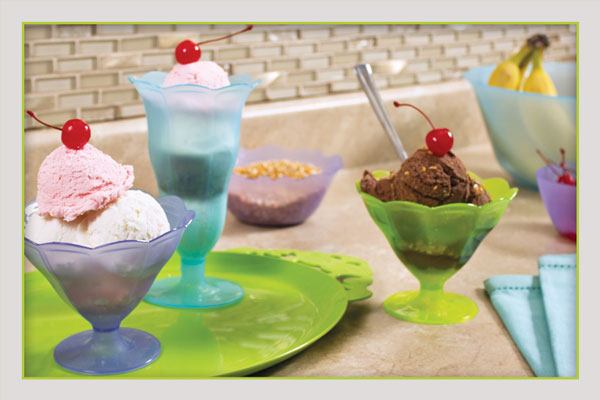
With the magic of Photoshop and a RAW file, we can manipulate the image to look like this. Its much brighter, has a little more contrast and is overall, a lot warmer. From there, we remove small glares, fix the product, maybe add a few more nuts to the chocolate ice cream and then crop it down to match our sketch (or as close as we can get).
We were’nt exact in our dimensions, we’ve altered the angle slightly, and of course we didn’t have the Sundae Boat Dish to use. Overall, we got pretty darn close to our original vision for the photograph.
What you end up with after all is said and done is a wonderfully beautiful, possibly fake, but (almost) perfectly executed photograph: